spoon

Recent Recipes

Chicken Taco Bowls

Comments (1) | Tuesday, May 20, 2014

This has honestly got to be one of my absolute most favorite slow cooker meals of all time.  And to think, I only found it about 6 months ago!  I've been missing out on this yummy chicken goodness for far too long! It's so simple, it makes enough for leftovers and it's SO tasty.  I like to serve it over rice with a green salad on the side.  But mix it up if you'd like.  Serve it over quinoa, stuff it in a tortilla.  The flavors are so amazing you really can't go wrong.

*original recipe from www.budgetbytes.com*

Chicken Taco Bowls
1 1/2 pounds chicken breasts (I use about 4 breasts)
1 (16 oz) jar of mild thick and chunky salsa
1 (15 oz) can black beans, drained
1/2 pound (8 oz) frozen corn
1 tablespoon chili powder
1/2 tablespoon cumin
1/2 tablespoon minced garlic
1/2 teaspoon dried oregano
1/4 teaspoon salt
2 cups uncooked rice
3 cups chicken broth
shredded cheese, chopped cilantro and sour cream for topping

Add all ingredients through salt into the bowl of a slow cooker.  Stir to combine and cover chicken with mixture.  Cook on LOW setting for 8 hours.  Near end of cooking time, cook uncooked rice in 3 cups of chicken broth according to package directions.  When slow cooker is done, shred chicken with two forks.  Build bowls by placing rice in bowl, top rice with cheese, chicken mixture and any other toppings of your choosing.


Read More......

Southwest Quinoa Salad

Comments (0) |

I love seeing so many new recipes out there involving quinoa.  What an amazing little grain (and tasty too!) packed with protein and nutrients.  So when I wanted something different to serve with my chicken fajitas, I remembered pinning this recipe on Pinterest and thought it looked like the perfect pairing.  And while the fajitas were delicious, this beautifully colored protein packed salad was what had me going back for seconds.  I took my first bite and announced  to my family (rather shamefully with a mouthful of food) "oh my gosh, this is amazing! you're going to love it!" But I really had to sit and savor the beauty for a minute too.  I mean, look at all those colors.  Almost too pretty to eat!  It's a wonderful side dish for really any main course meat.  Or eat it for lunch on its own.  But pair it with a mexican main dish (tacos? fajitas? burritos?) and you won't be disappointed.

*original recipe from mysaladrecipes.com*

Southwest Quinoa Salad
1/2 cup quinoa
1 cup water
1/4 cup chopped fresh cilantro
1 small mango, diced
1 small red bell pepper, diced
1 cup canned black beans, rinsed and drained
2 green onions thinly sliced
1/4 cup orange juice
2 tablespoons rice vinegar
2 teaspoons sesame oil
1 teaspoon minced fresh ginger (or 1/2 teaspoon ground ginger)
1/4 teaspoon salt
pinch of cayenne pepper

Toast the dry quinoa by placing it in a small saucepan over medium-low heat and stirring until it becomes fragrant and begins to crackle (about 3-5 minutes.)  Rinse quinoa under cold running water and drain through a fine mesh sieve.  Return to saucepan with 1 cup water.  Bring to a boil over medium-high heat.  Cover, reduce heat to low and simmer 15 minutes or until liquid is absorbed.

While quinoa is cooking, mix remaining ingredients through green onions in a medium bowl.  When quinoa is done, add to bowl and toss all ingredients together.  Mix remaining ingredients together and pour over salad.  Toss to coat.


Read More......

Turkey Enchilada Pasta Skillet

Comments (0) |

I am all for an easy one dish dinner.  Toss all the ingredients in one pan and you're done?  I'll take it!  And the best part is that everyone loved this dish.  Now if you were my dad, and this was 1988, you'd add a can of kidney beans and possibly some other various ingredients that you've found in your pantry.  You'd dish it out to your kids and you'd call it "Daddy Surprise" because the surprise was that it never tasted the same.  Oh, the childhood memories...

No kidney beans please.  Although if you want to add a can of black beans you could boost the protein and fiber content and I imagine it would taste delicious.  We topped our servings with a dollop of sour cream (and some sliced olives for me and the kids.)  A little avocado wouldn't be too bad either.

*original recipe from www.number-2-pencil.com*

Turkey Enchilada Pasta Skillet
1 tablespoon olive oil
1 1/2 teaspoons minced garlic
1/2 cup chopped onion
1 lb ground turkey
1 packet taco seasoning or 1 recipe of my homemade taco seasoning
2 cups low sodium chicken broth
1 small can mild red enchilada sauce
8 oz dried rotini pasta
2 cups reduced fat shredded mexican cheese blend
3 green onions chopped
toppings of choice: sour cream, olives, avocado, salsa

In a large skillet, saute garlic and onion in olive oil over medium heat until softened.  Add turkey meat and taco seasoning, breaking up meat as it cooks until browned.  Add chicken broth, enchilada sauce, and pasta to pan.  Bring to a boil then reduce heat to low, cover and simmer about 15 minutes.  Remove lid and simmer, uncovered, another 5 minutes or until pasta is tender.  Remove from heat and stir in one cup of cheese.  Top with remaining one cup of cheese and replace lid to allow heat to melt the cheese.  Sprinkle with green onions and serve.


Read More......

Banana Peanut Butter Oatmeal Muffins

Comments (0) | Wednesday, February 12, 2014


I had fully anticipated posting this recipe and calling it the best muffin ever... in the entire world. That is until I asked my husband what he thought of them.  My husband (who will devour a peanut butter and banana sandwich happily) who replied "um... they were ok..." And he was met with a stunned silence.

"OK?! Just OK?! I thought they were AMAZING!!" I half shouted, slightly offended.

"I just wasn't a fan of the peanut butter I guess..." he replied honestly.  It took me some time to remind myself that you win some, you lose some.  But usually the ones I "lose" are recipes that we mutually agree were just not that good.  So before you run out and whip up a batch of these puppies you need to first be a self described fan of peanut butter and banana.  And even then you need to know that they *apparently* don't stand up to the toughest of PB&B critics.  But hey, whatever... more for me...

I will admit that they were best right out of the oven. I waited a full 2 minutes, wafting the air around the muffins, trying to cool them just enough to devour one.  They're still good the next day but be warned that they take on the consistency of banana bread that has rested overnight, that slightly moist stickiness.  Didn't stop me from devouring another one (or three.)  But then to rid myself of the temptation I tossed the rest into a ziplock bag and put them in the freezer for later consumption.

I got the original recipe here at Annie's Eats (I only wish I could blog like her!) but made a couple alterations to my own taste.

Peanut Butter Banana Oatmeal Muffins
(yield about 16 muffins)

1 cup all purpose flour
1/2 cup whole wheat flour (or white whole wheat)
1 cup old fashioned oats (OK to substitute with quick oats or use a combination)
1 tsp. baking powder
1/2 tsp. baking soda
1/2 tsp. salt
2 heaping tablespoons unsweetened applesauce
3/4 cup brown sugar
2 large eggs
1 cup mashed ripe banana (about 3 medium)
6 tbsp. creamy peanut butter
1 cup low fat buttermilk

Preheat oven to 350 degrees.  Spray muffin pan with nonstick cooking spray or line with paper liners.  In a medium mixing bowl combine flours, oats, baking powder, baking soda and salt.  Stir with a whisk to blend. In another bowl mix applesauce, brown sugar, eggs, banana, peanut butter and buttermilk.  Whisk together until smooth.  Pour wet ingredients into dry ingredients and stir just until combined.  Divide the batter between the prepared muffin cups (I baked a dozen first, then used the same pan to bake 4 more.) Bake 20-23 minutes or until a toothpick inserted in the center comes out clean.  Cool in pans 5 minutes then remove to a wire rack to cool completely (or however long you can wait until you have to devour one!)


Read More......

Banana Quinoa Waffles

Comments (0) | Saturday, March 9, 2013


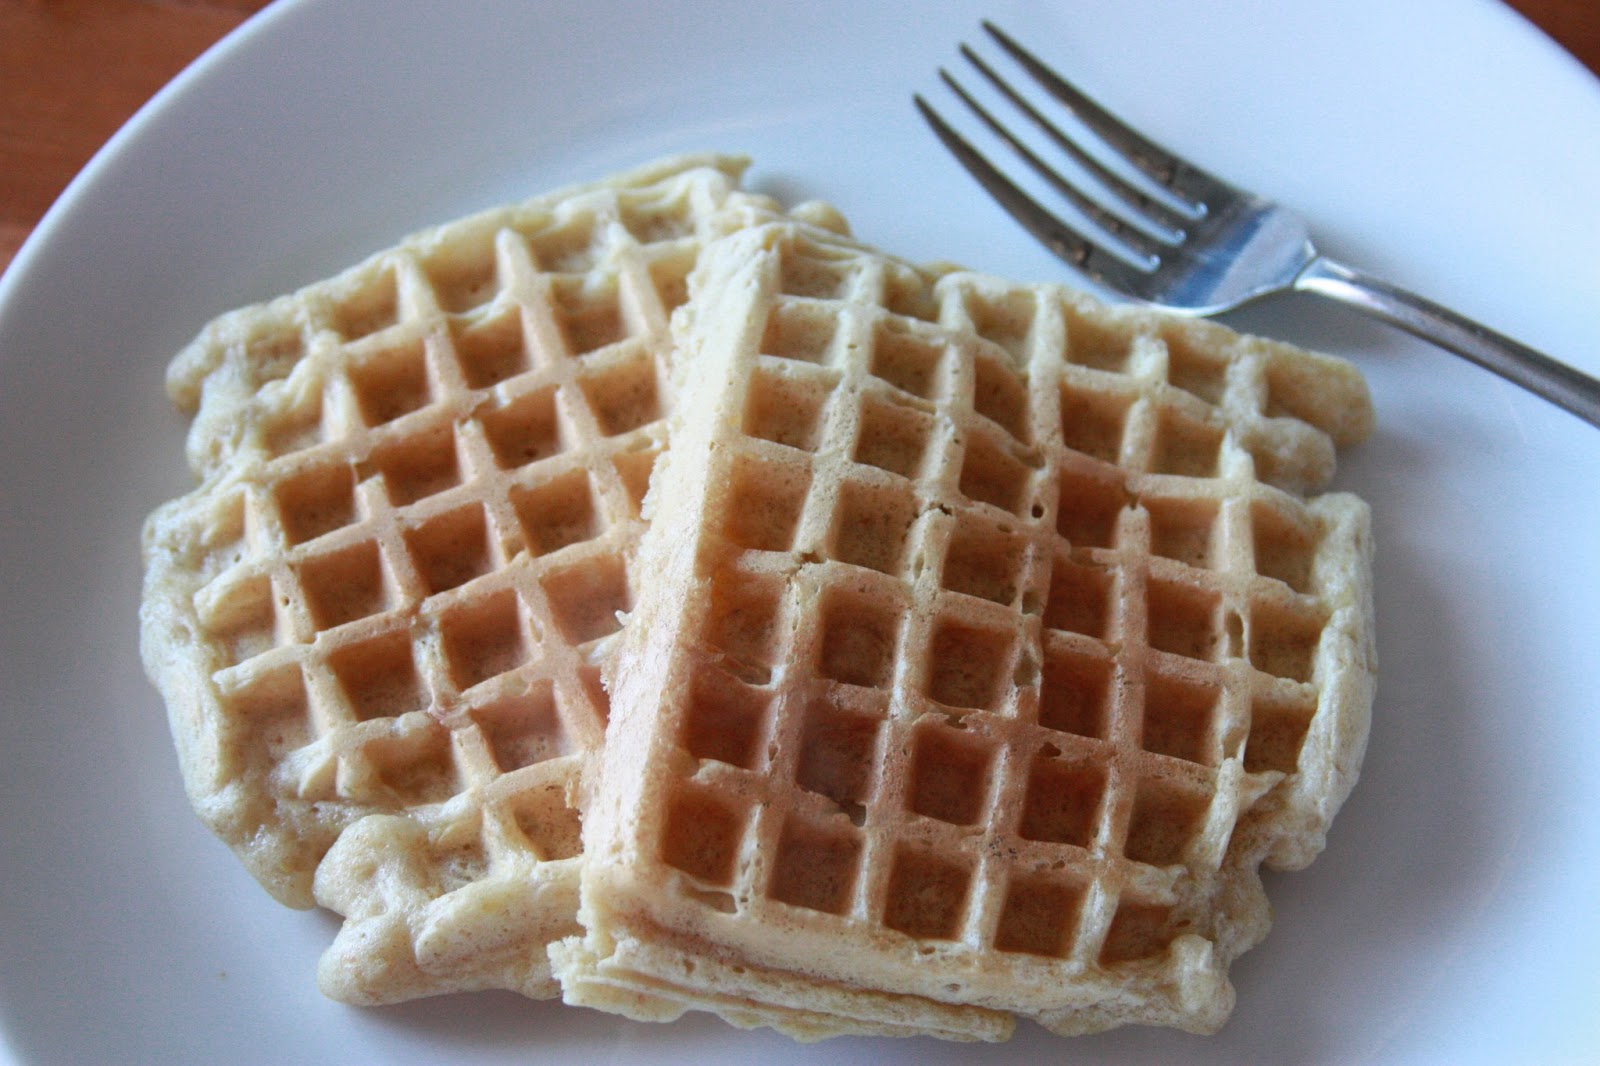
The photo was taken as an afterthought, before I devoured them and thought to myself, "I might want to post this recipe on the blog."  I almost resigned to taking a photo of my children's plates as their servings were quickly disappearing... proof that these were seriously delicious!

I've been trying to incorporate different whole grains into our diet in various ways.  I tried out a turkey bulgar dinner one night and it was a HUGE success (recipe will be posted soon, I promise... I've been trying to archive my recipes and get caught up... a daunting task...)  But then I have to admit that all of them haven't made the "keeper" pile.  The morning I placed a bowl of warm whole wheat couscous made with vanilla almond milk, orange zest and dried cranberries in front of Brendan for breakfast he ate a few bites and asked with mild disgust "why are we eating couscous for breakfast?" In all honesty it was really kind of weird.  So I tossed that one.

But this one?  It's a keeper.  The look on Brendan's face when he took his first bite was priceless... as I've always said, he's my best critic... I'll type up the recipe as it was written but here are the changes that I made.  Keep in mind, it's best to cook the quinoa the night before and let it cool in the fridge. You may want to check it while it's cooking... by about 8 minutes mine was running out of water and on the verge of sticking to the pan, good thing I checked... I added a bit more water and it turned out fine.  I did not have any white whole wheat flour so I split it 1 1/3 all purpose, 1/3 whole wheat... it could have been split with more whole wheat and still be OK.  I cut the butter down to 1 tablespoon and I don't think it made a difference in taste.  Also... I've made pancake recipes that have called for beating the egg whites separately and folding them into the batter.  I've made them omitting that step and adding the whole eggs to the batter and feel that it didn't make much of a difference in taste or texture.  With these I actually beat the whites separately but I'll try it without that step next time.  The recipe says it makes 10 waffles but with my traditional waffle maker I ended up with about 16 of the ones shown above.  Yes, we will be having leftovers and freezing extras.  Especially since Daddy wasn't here to eat any.

Banana Quinoa Waffles
1/2 cup water
1/4 cup quinoa
1 2/3 cups white whole wheat flour
2 tablespoons brown sugar
1 teaspoon baking powder
1/4 teaspoon salt
1 cup mashed ripe bananas (about 2 medium)
3 eggs, separated
3 tablespoons butter, melted
1 1/2 cups fat free milk

In a small saucepan, bring the water to a boil.  Stir in quinoa.  Reduce heat, cover and simmer 10-12 minutes or until tender and liquid is absorbed.  Remove from heat.  Transfer to a small bowl and chill 1-2 hours or overnight.

Preheat waffle iron according to manufacturer's directions.  In a large bowl, combine flour, brown sugar, baking powder, and salt.  In a medium bowl, combine quinoa, bananas, egg yolks, butter and milk.  Stir into flour mixture.

In another bowl, beat egg whites until stiff.  Fold them into batter.  Cook batter in waffle iron according to manufacturer's directions.  Top with syrup and fresh fruit.

*Recipe courtesy of Parents magazine*


Read More......

Peanut Butter Dip

Comments (0) | Monday, March 4, 2013


I ran across this recipe in a Family Circle magazine and decided to try it out as a healthy after school snack for the kids.  And while Aubrey was, for some reason, slightly turned off by it (she is my picky eater after all...) Brendan declared it his new favorite snack and ate what Aubrey wouldn't.

I dipped a few apple and celery slices myself and have to admit that it was really pretty tasty.

Peanut Butter Dip
6 oz. low-fat vanilla yogurt
1/2 cup reduced fat peanut butter
1/3 cup raisins
1/2 teaspoon cinnamon
2 ribs celery trimmed and cut
2 apples cored and sliced
2 cups small pretzels (we omitted the pretzels to keep it slightly healthier but they would have tasted great!)

In a small serving bowl mix together yogurt, peanut butter, cinnamon and raisins.  Serve with apples, celery and pretzels.


Read More......

Turkey Bulgur Skillet

Comments (0) | Thursday, January 10, 2013

I hate winter evenings.  I'm not an expert photographer.  I don't even aspire to be one.  But I at least like to TRY to get a good looking photo of the recipes that I post.  The winter evenings leave me with no natural light to speak of and so most photos come out looking slightly unappealing with a yellowish-orange tint to them.  I suppose that means I'll just have to talk this recipe up because you seriously have to try it and I promise you will LOVE it.  I questioned it slightly when I pulled out the recipe. I've never actually cooked bulgur before.  But the recipe was part of a "try new whole grains in your diet" article and I figured... "sure, why not?"

When I called the kids to the table for dinner I wished I had been able to record their reactions.  Brendan (who rarely complains about dinner) sat down and looked at his plate skeptically saying "what IS this?" as Aubrey said "I don't WANT this... I don't LIKE it!" throwing herself to the ground.  I reeled them back in saying "you haven't even tasted it yet... if you take a few bites then I'll get out some tortilla chips and you can eat it with those."  The word "chips" got their attention and they took their first tentative bites.

Brendan's eyes lit up "Mommy, it's so GOOD!" and Aubrey exclaimed "I like it!" and though they momentarily forgot about the promise of chips, I brought them out anyway... I like to keep my word.  The tastes were amazing (and a tortilla chip or two to clean the plate adds a nice touch.)  So don't be turned off by the name or the look because as Brendan has told me time and time again "even if it doesn't look good... it doesn't mean it won't TASTE good!"

Turkey Bulgar Skillet

8 oz lean ground turkey
1 small onion, chopped
1 garlic clove, minced
1 (16 oz) can kidney beans, rinsed and drained
1 (14.5 oz) can diced tomatoes with mild green chilies
1 1/2 cups water
1/2 cup frozen corn (I used a whole can, drained, since I didn't have any frozen)
1 Tbsp. chili powder
1 tsp. ground cumin
1/4 tsp. pepper
1/4 tsp. salt
1 cup uncooked bulgur (I found this in the whole foods/bulk section of Fred Meyer for cheap!)

Topping: 1/2 cup plain greek yogurt or sour cream mixed with 1 Tbsp chopped green onion and 1 Tbsp minced fresh cilantro

In a large nonstick skillet coated in cooking spray, cook turkey and onion over medium heat until meat is no longer pink.  Add garlic; cook 1 minute longer.

Stir in the beans, tomatoes, water, corn chili powder, cumin, pepper and salt.  Bring to a boil.  Stir in bulgur. Reduce heat; cover and simmer for 13-18 minutes or until bulgur is tender.

Remove from heat; let stand 5 minutes.  Fluff with a fork.  Serve on plates or in bowls with a spoonful of "topping" and some tortilla chips.

Original recipe courtesy of taste of home healthy cooking


Read More......

Search

Powered by Blogger.